What to do if the glass breaks
Step-by-step procedure for safe glass removal and replacement
Emergency glass removal procedure
IMPORTANT SAFETY NOTICE: Always prioritise safety when dealing with broken glass. Follow these steps carefully to prevent injury and ensure proper handling.
-
1
Wear protective clothing (PPE)
Use appropriate safety gloves, safety goggles, long sleeves, and closed-toe shoes before handling any broken glass.
-
2
Remove broken shards
Remove shards carefully one by one. Dispose/recycle safely: large pieces in a sturdy box, small fragments in a sealable container.
-
3
Loosen the silicone
Insert the blade between the profile and frame and make deep, repetitive cuts until the bond is fully severed.
-
4
Release the profile
Cut around the frame and gently pull one end of the profile to detach it. Continue cutting as needed. Start at the top horizontal profile, then do the vertical sides, lastly the bottom horizontal profile, taking care not to bend it sharply if it is still good enough to use again. The removal of the profiles needs to happen in reverse order of the installation process, as the profiles overlap at the corners.
-
5
Scrape the silicone clean
Use a 3–4mm flat screwdriver to scrape silicone from inside the profile, plus a scraper/blade for exterior cleanup. Silicone remover can also be used, if available.
-
6
Clean the frame
Prepare the frame like a normal installation: ensure a clean, dry, and free from debris and old sealant.
-
7
Keep the profiles (if reusable)
If the profiles are undamaged, they can often be reused with new glass and fresh silicone—inspect carefully first.
Visual reference guide
Click the image to open it in a new tab (full size).
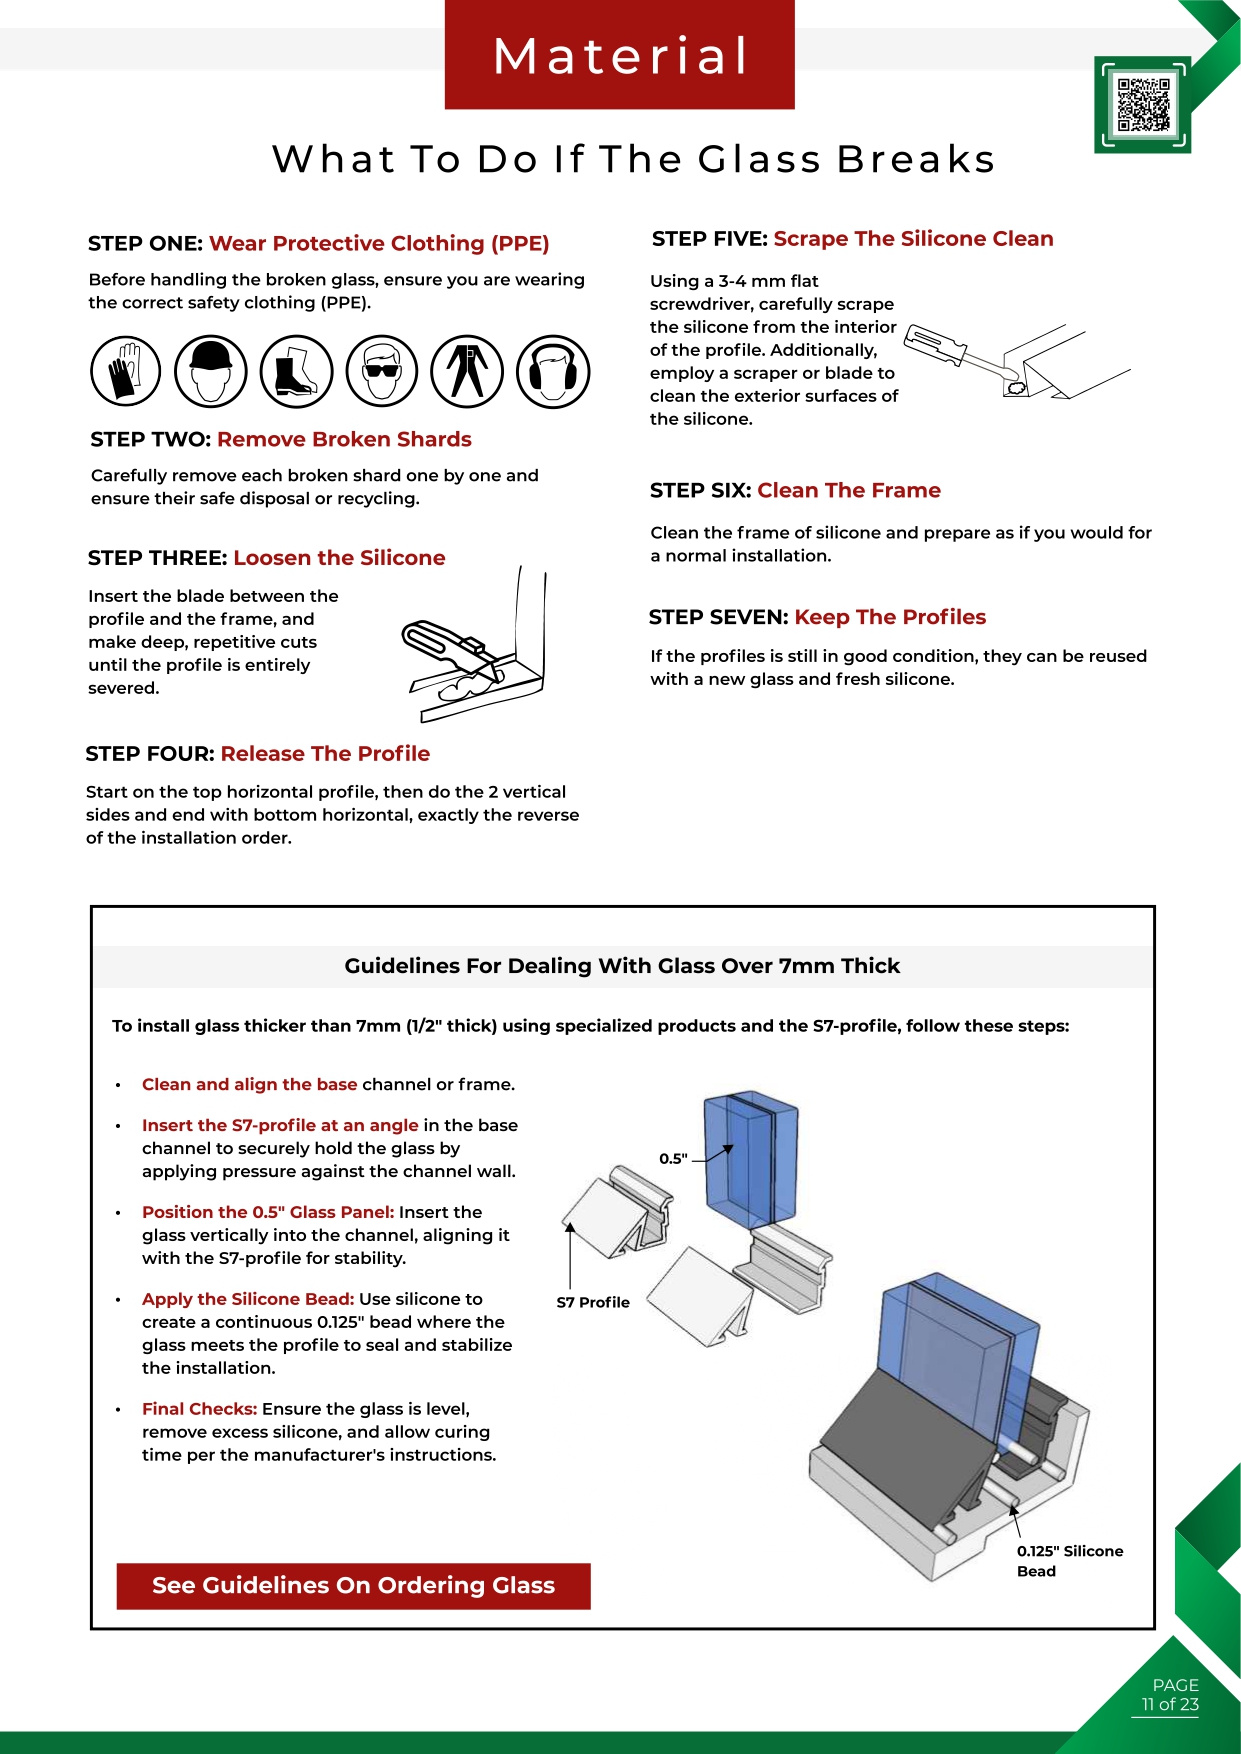
Tools you will need
Safety gloves
Cut-resistant gloves for hand protection.
Safety goggles
Eye protection from glass fragments.
Utility knife
For cutting silicone seals.
Screwdriver set
3–4mm flat head for silicone removal.
Guidelines for dealing with glass over 7mm thick
To install glass thicker than 7mm (½") using specialised products and the 57-profile, follow these steps:
-
1
Clean and align
Clean and align the base channel/frame thoroughly before installation.
-
2
Insert S7 profile
Insert the S7 profile at an angle in the base channel to hold the glass by pressure against the channel wall.
-
3
Position glass panel
Insert the glass vertically into the channel, aligning it with the S7 profile for stability.
-
4
Apply silicone bead
Create a continuous 0.125" bead where glass meets the profile to seal and stabilise.
-
5
Final checks
Ensure the glass is level, remove excess silicone, and allow curing per manufacturer instructions.
Need to order replacement glass?
Follow our comprehensive guidelines for accurate glass measurement and ordering.
See guidelines on ordering glass →